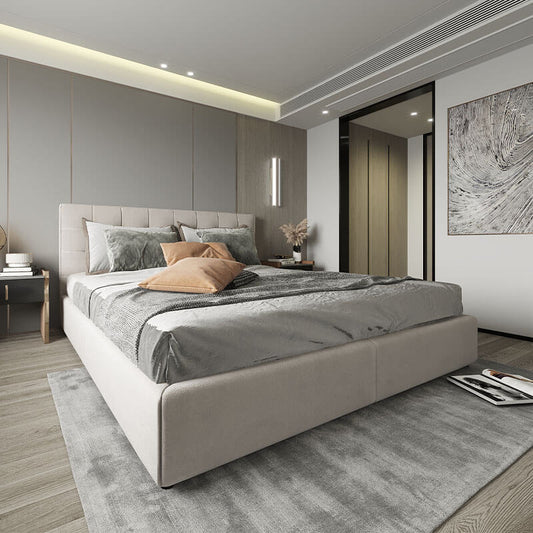
False, drop, or suspended ceilings have become a popular design element in modern interiors. They not only enhance the aesthetic appeal of a room but also improve functionality by concealing wiring & ductwork and providing thermal insulation. If you're considering installing a false ceiling, this comprehensive step-by-step guide will walk you through the process while sharing expert tips and key insights.
Benefits of False Ceilings
Before diving into the installation process, let’s explore the advantages of installing a false ceiling:
-
Aesthetic Appeal: Adds a sophisticated touch to your interiors with creative designs and lighting options.
-
Concealment: Hides electrical wiring, plumbing pipes, and ductwork, ensuring a clean look.
-
Energy Efficiency: Improves insulation, reducing energy bills by maintaining indoor temperature.
-
Acoustics: Minimizes sound transmission for quieter spaces.
-
Lighting Options: Allows recessed lights, LED panels, and cove lighting for a modern look.
Materials Needed for False Ceiling Installation
Here are the essential materials required to install a false ceiling:
-
Gypsum Boards: Lightweight and fire-resistant boards commonly used for false ceilings.
-
Metal Framework: Typically made of aluminum or galvanized steel for durability and stability.
-
Suspension Wires: To secure the framework to the ceiling.
-
Fasteners and Screws: To hold the components together.
-
Jointing Compound and Tape: To smooth outboard joints and create a seamless finish.
-
Paint or Wallpaper: For the final finish, match your room's décor.
Tools Required
-
Measuring tape
-
Drill machine
-
Screwdriver
-
Leveling tool
-
Cutting tools (for boards and metal framework)
-
Safety gear (gloves, goggles, and helmet)
Step-by-Step Guide to False Ceiling Installation
Step 1: Measure and Plan
Start by assessing the room and determining the dimensions for your false ceiling. Follow these steps:
-
Use a measuring tape to calculate the dimensions of the ceiling.
-
Decide on the height at which the false ceiling will be installed (typically 6–8 inches below the original ceiling).
-
Mark the measurements on the walls using a chalk line or laser level.
Step 2: Choose the Design
False ceilings come in various designs, from plain and simple to intricate patterns. Select a design that complements your room's interior style. Popular designs include:
-
Flat False Ceilings: Minimalist and modern.
-
Cove Ceilings: Features recessed edges for indirect lighting.
-
Layered Ceilings: Adds depth and visual interest with multiple layers.
Step 3: Install the Perimeter Frame
The perimeter frame forms the base for your false ceiling. Here's how to install it:
-
Fix aluminum or steel channels along the marked lines on the walls using screws and wall plugs.
-
Ensure the frame is level and securely attached to provide a stable foundation.
Step 4: Fix the Suspension System
The suspension system supports the entire false ceiling structure. Follow these steps:
-
Drill holes in the original ceiling and insert anchor fasteners.
-
Attach suspension wires to the fasteners and adjust them to the desired height.
-
Ensure the wires are evenly spaced to support the framework.
Step 5: Assemble the Framework
The framework is where the gypsum boards will be mounted. Here's how to assemble it:
-
Fix the main runners (metal channels) to the suspension wires.
-
Attach cross runners perpendicular to the main runners to form a grid.
-
Use a leveling tool to ensure the framework is even.
Step 6: Install the Gypsum Boards
Once the framework is ready, attach the gypsum boards:
-
Cut the boards to size using a cutting tool or saw.
-
Secure the boards to the framework with screws.
-
Each board should have a tiny space between them to accommodate expansion.
Step 7: Finish the Joints
To create a seamless surface:
-
Apply jointing compound along the gaps between the boards.
-
Place jointing tape over the compound and press it down.
-
Smooth the surface with a spatula and let it dry.
-
Sand the dried surface for a polished look.
Step 8: Paint and Decorate
Once the false ceiling is installed:
-
Apply a primer coat to the gypsum boards.
-
Paint the ceiling in your desired color or finish.
-
Consider adding wallpaper, stencils, or textured paint for a unique design.
Step 9: Add Lighting Fixtures
Integrate lighting fixtures to enhance the look and functionality of the false ceiling:
-
Install recessed lights, LED strips, or pendant lights in pre-cut slots.
-
Conceal wires within the false ceiling for a clean finish.
-
Test the lights to ensure proper installation.
Tips for a Successful Installation
-
Hire Professionals: If you're unsure about the process, hire experienced contractors for flawless results.
-
Choose Quality Materials: Invest in durable materials to ensure longevity and safety.
-
Ensure Proper Ventilation: Include vents or openings for air circulation to prevent mold or moisture buildup.
-
Plan for Maintenance: Design the ceiling for easy access to electrical wiring or ducts when needed.
-
Budget Wisely: Calculate the cost of materials and labor using a home interior price calculator before starting the project to avoid overspending.
Common False Ceiling Design Mistakes to Avoid
-
Ignoring Room Height: A false ceiling in a low-height room can make the space feel cramped.
-
Overloading with Lights: Too many lighting fixtures can heat up the room and increase electricity bills.
-
Skimping on Quality: Low-quality materials may save money initially but lead to frequent repairs.
-
Poor Framework Installation: An unstable framework can cause the ceiling to sag over time.
Conclusion: Transform Your Space with a False Ceiling
False ceilings are an excellent way to add character, functionality, and value to your home or office. By following this step-by-step guide, you can achieve a flawless installation that elevates your interiors. Whether you prefer a simple design or an elaborate pattern, the possibilities are endless. With careful planning, quality materials, and creative lighting, your false ceiling can become the highlight of your space.


